Character based on the concept from Tony Wolf's kids book
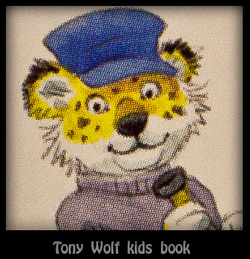
As they say "shoemaker's children are ill-shod". Working extensively in productions for years, never gave me a chance to find a time to make something on my own. I decided lately to create a nice cg character from one of the kids book. The assumption was: the more simple concept the better. It gave me a certain range of freedom in adaptation process. I chose one of the characters from Tony Wolf kids book.
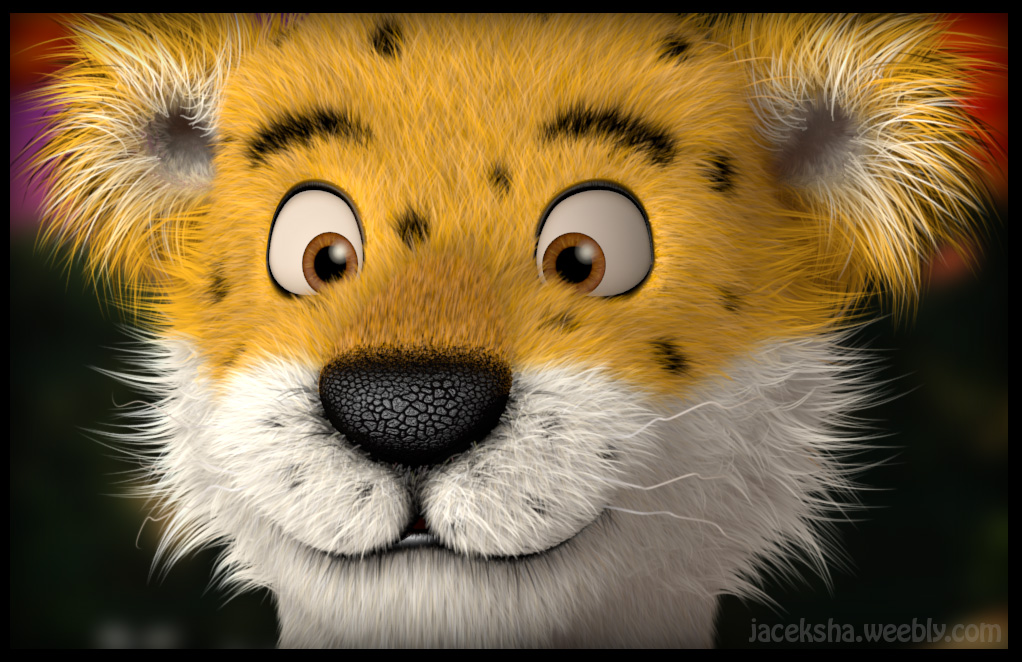
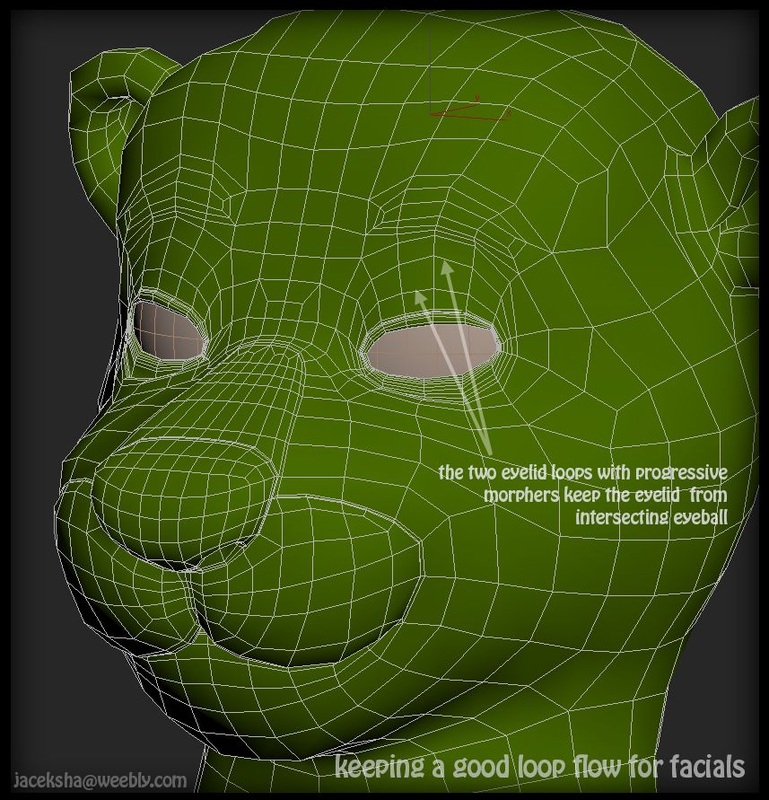
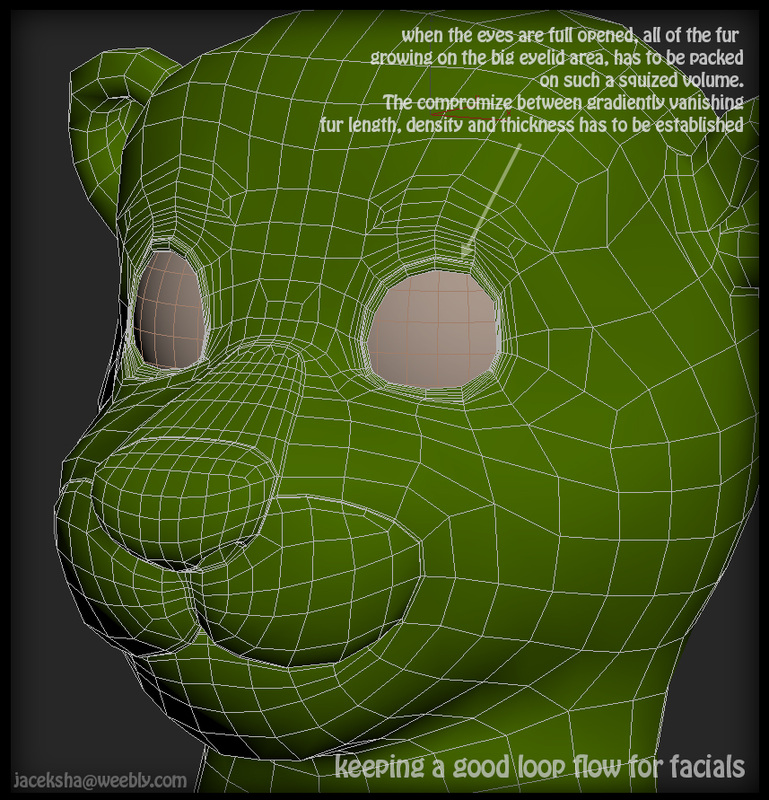
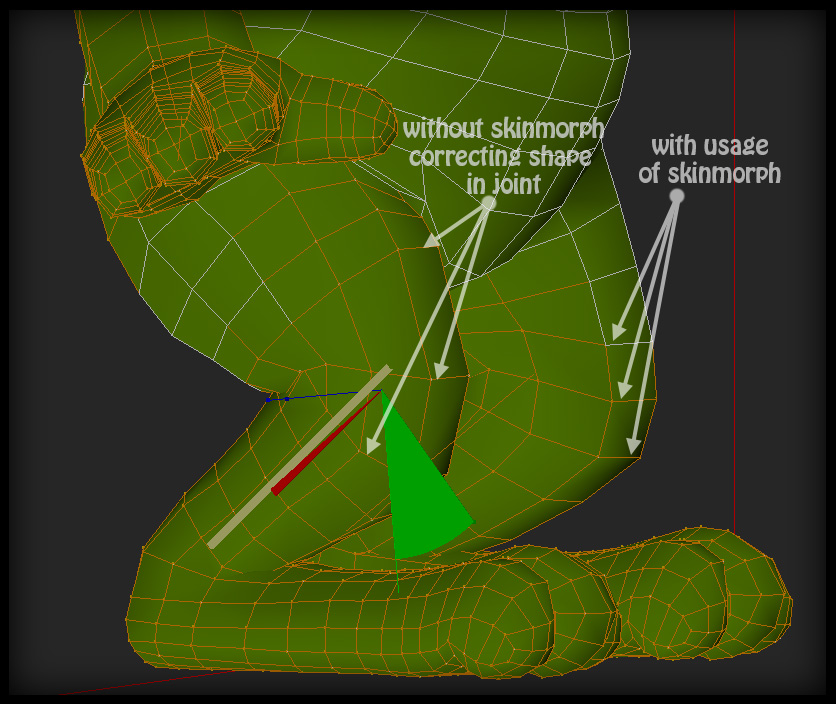
I've managed to create a head with a blink morph. Later I will enrich the face with more facials. I did use a progressive morpher for the blink, otherwise the eyelid going from full open to closed would intersect the eyeball. Then I created the rest of the body. For the rig I did use the Biped of Character Studio so the skinning process was left only. I have used SkinMorph modifier for correction shapes in joints, especially in armpits, elbows, knees and clavicle. For the animation references I have used my kids movements captured a years ago for Laura's animations tryouts. For some composed images I did apply depth of field effect.
Note: As uploaded movies to Vimeo or Youtube doesn't give always satisfying results for presenting animations or turntables, it makes more sense to share these movie files right in here. The quality of colors and sharpness would be much better this way. You can take a look at anaglyph or download colorful HD stereoscopic images in "stereo section" of "3d funwork".
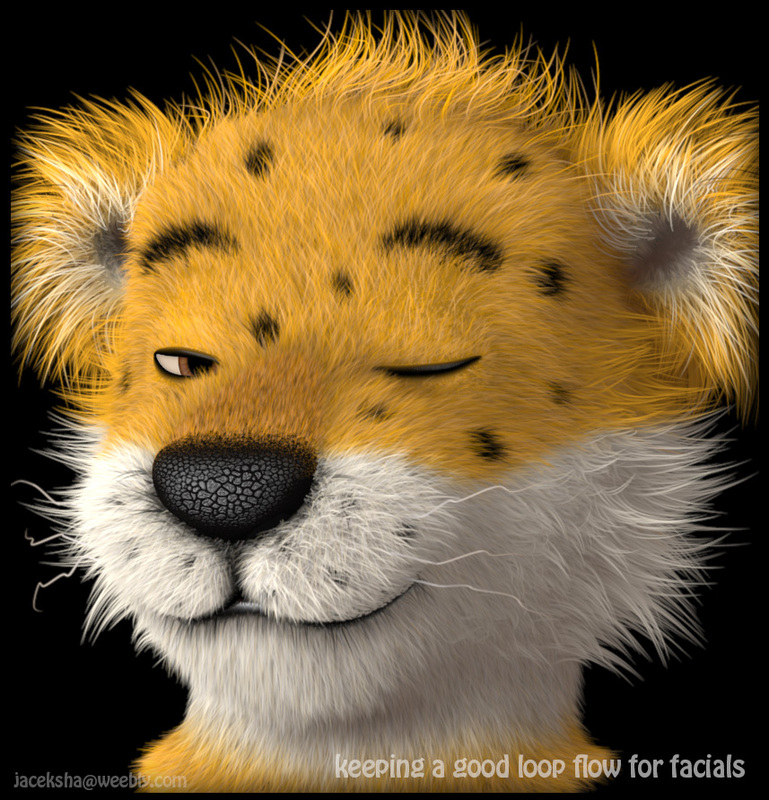
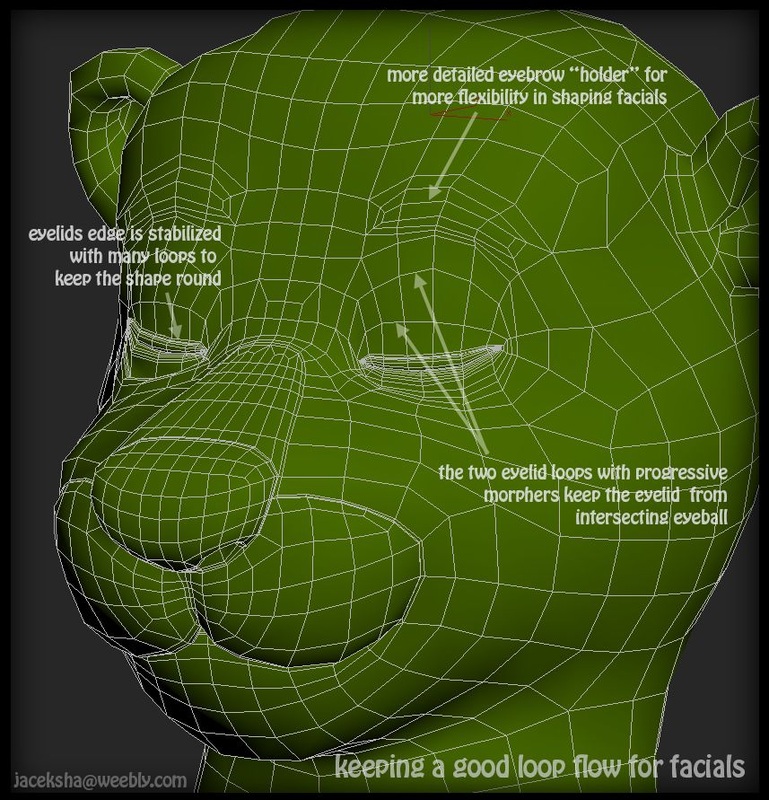
a bit about the loop flow for the facials in practice and the effect of the great help of the skin morph in joints. In productions this technique was used extensively for every problematic area. The separate department was creating shapes for the skin morphs, so we ended up with dozens for each character.
|
|
|
|
|
Turntable in slides or full in quicktime file, below the slide show
| tig_hea_ta_codh264_1080_10mb_04sec.mov |
Animating - unfortunatelly, I never went through any mentor curse of animation and thus I always have to backup myself with the footage
Here are the slide samples of my "jump" tryout: covering Character Studio's biped with a rotoscoped footage of my son (now he's 16 and probably would be angry at me for showing this :))
|
And the full " jump" animation in quicktime time file
|
| ||
Rotoscoped and brought to cycled, animation of "skipping along".
|
And the full " skipping along" animation in quicktime
|
| ||
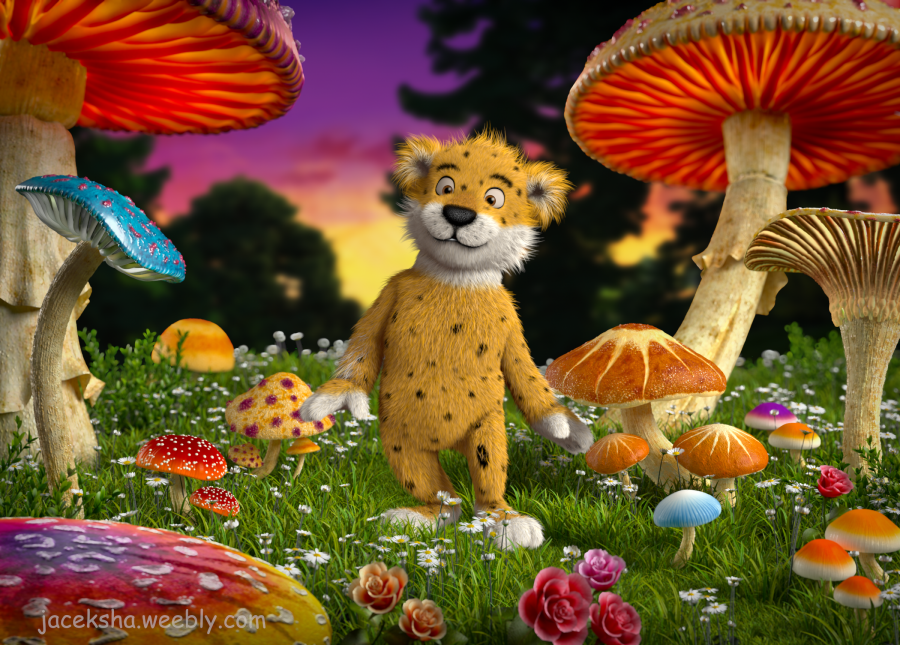
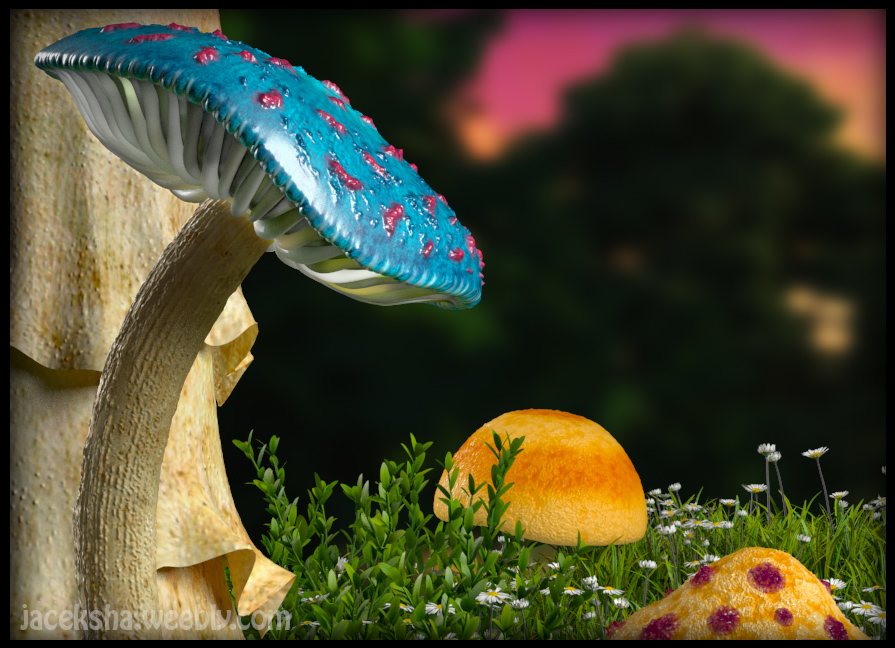
Set based on the shot from "Alice in Wonderland"
|
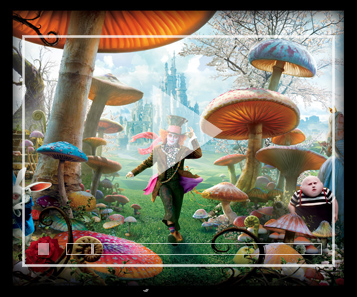
Below the image from "Alice in Wonderland" which served me as a concept for creating my own idea of such world. I wanted the set to look like placed in a photo studio, so it had to resemble actually a studio lighting conditions, not realistic ones. That's why all shadows are quite soft and there is no indication of strong sun light.
look on Vimeo at the small breakdown of this approach
|
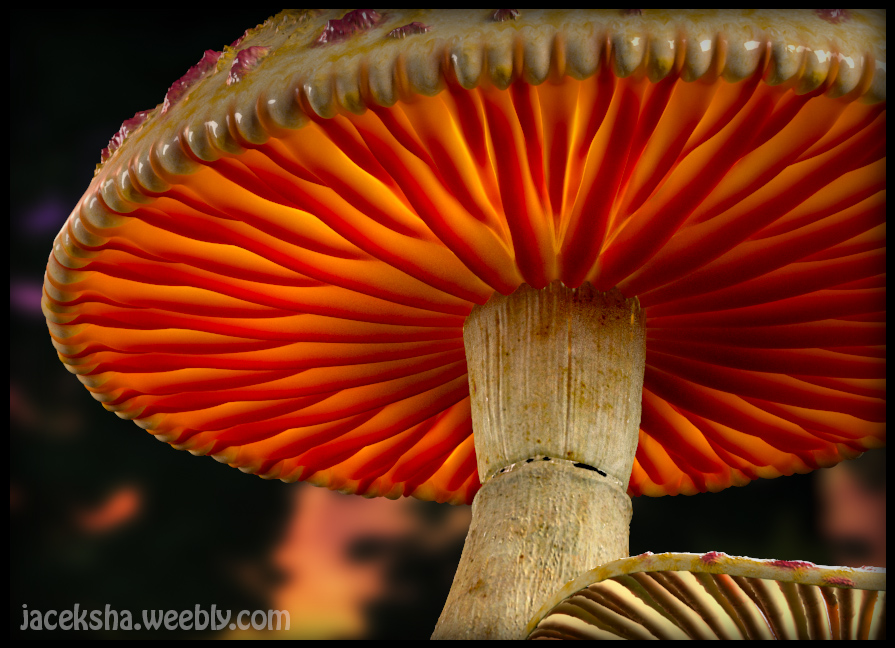
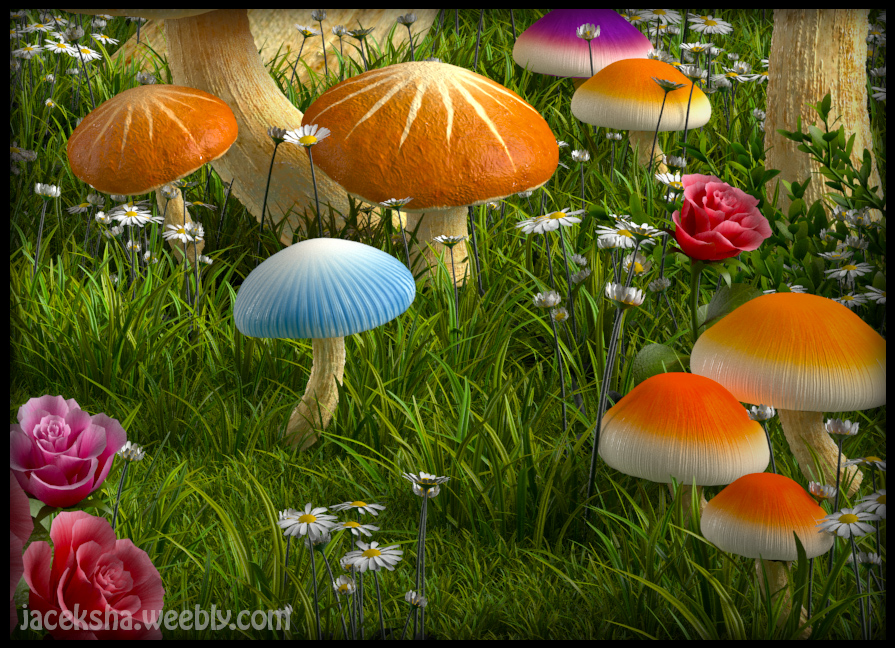
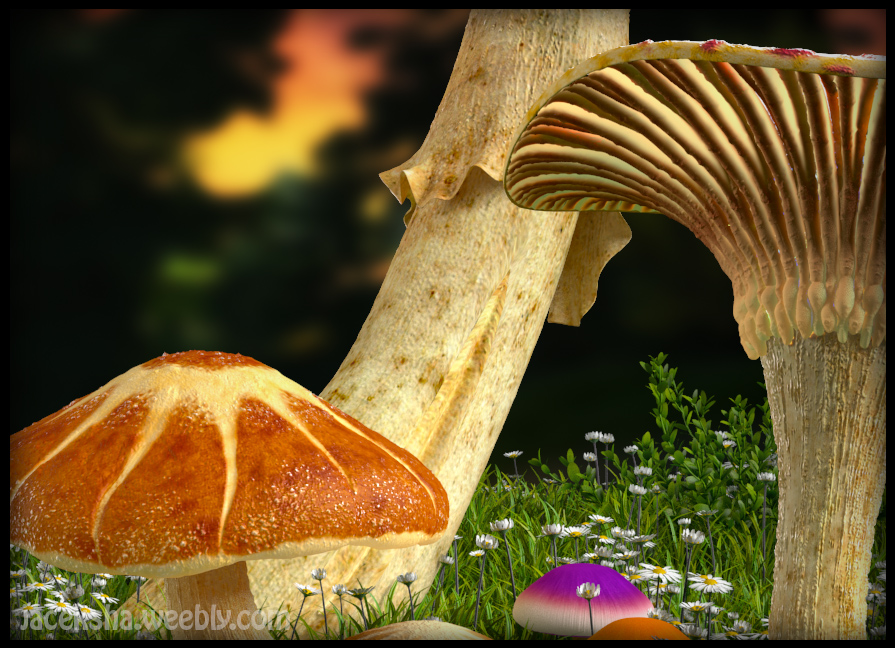
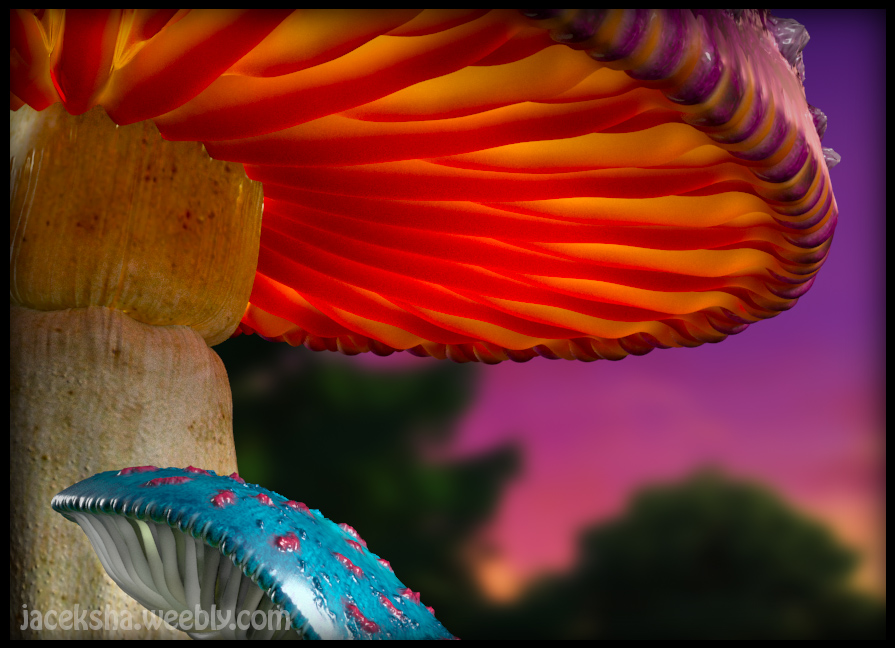
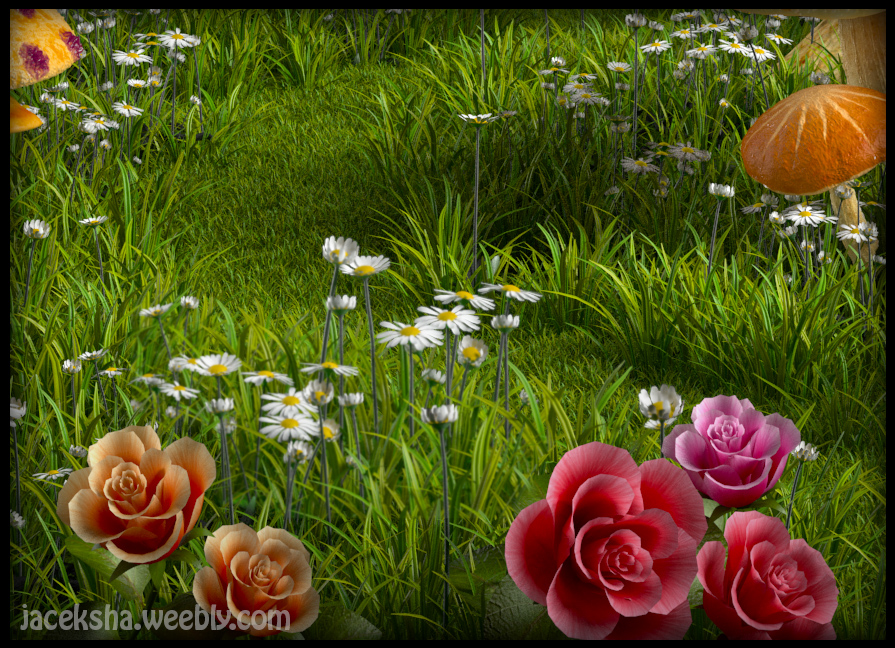
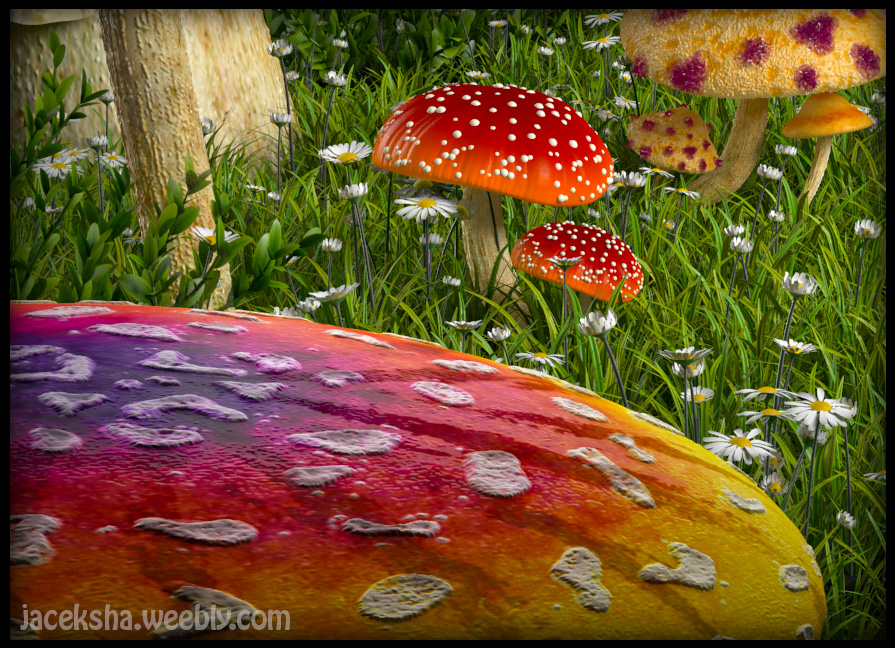
Being involved for years in characters I just thought I should do finally a set. I decided to do one, based on design from "Alice in Wonderland". I was doing it also for the purpose of using it in kindergartens photo sessions. I brought this idea to my friend photographer. I arranged everything for the green screen session to examine the technique and keying abilities. Well, nothing worked out in kindergartens, but it was worth trying. I've created all geometries, painted textures and setup shaders myself. I lit the scene with Vray area lights and rendered it with VRay. The most difficult was setting up shaders for mushroom heads so they could beam with lights. All over I've been using SSS2 and double sided VRay materials. BG was used from one of Cartoon-Film productions, I can't paint landscapes.
I managed to do stereo image of the set (see funwork "also in stereo") though the 2D footage of boy looks flat, like cut out from the cardboard. |
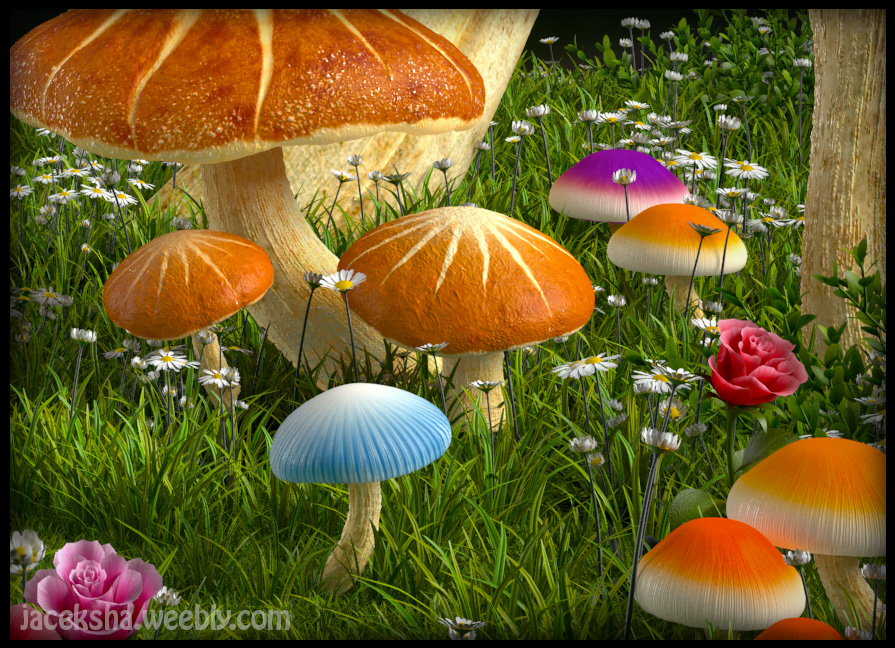
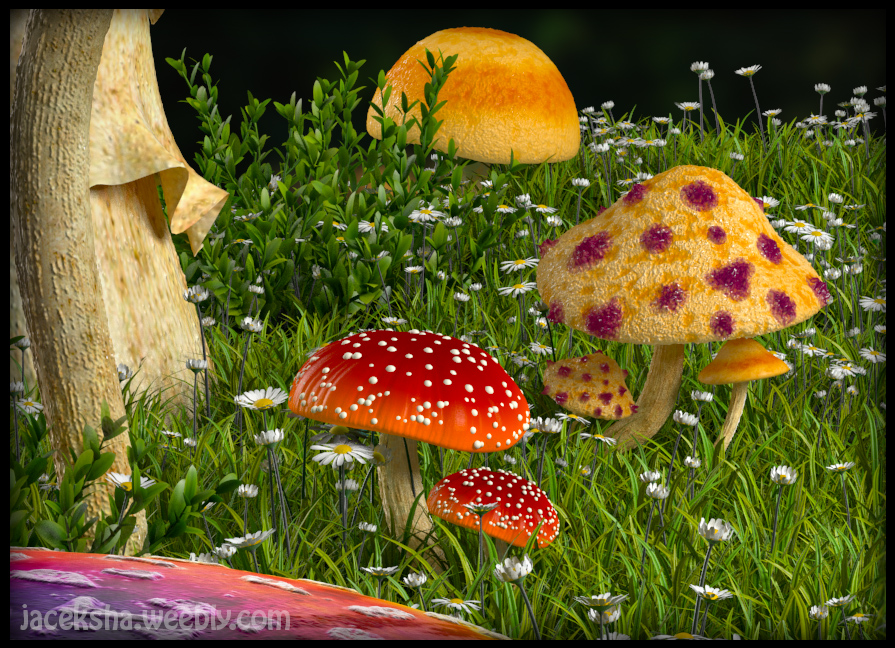
Few words about developing this set. For the grass I have used iTOO Forest Pack Pro which gives much more controls for distributing grass and daisies. You can shape and control edges of paths or even tell to detect interactions between distributed objects. For the structures of surfaces I have applied VRay displacement modifier. To make bottoms of the mushroom heads beam with light, I have put the plate object with VRay Light material inside (it did increase rendering time of GI a lot). In total, there were two VRay area lights used only. For the rendering I did use the animation mode, because I've planed to render stereo image from two angles. Otherwise rendering resulted with flickering effect.
Below you can see the result of merging the cg character into the set. The set had been rendered separately in 2400x1720 to fulfill printing needs in a photo lab. Character had been rendered seperatelly also to exr 32 bit format. It is very important considering hair strands, to have a good premultiplied edges on hair. PNG format didn't worked out so well. Check it in the second below slide show.
Here are some more detailed regions of the image without DOF, click to enlarge
|
|
|
the depth of field effect I did perform in compositing with z-depth element. Great results gives "Frischluft" plugin, especially effect of bokeh is impressive. There you can specify even number of blades of your aperture. Also take a look at premultiplied hair edges. They look good against bright and the dark background. Wrong premultiplica- tion is very common mistake happening in compositing.
Set combined with life footage on the green screen. A bit of compositing.
Preparations for shooting photos of kids in kindergartens with green screen. Two softboxes were enough to lit the kid and the green screen behind the kid at once. Shadow wasn't a big problem in keying. We've bought also some props

in closeups you can see reflections of the grass on the clock ...well yes, it's not possible. It's just a hole after keying the footage. I actually found this as a perfectly working mistake, in stills it can do the trick. The keyed-out green screen worked well at least sufficient enough, as you see in crucial area - hair strands.
concept of this car I have taken from "Wrack it Ralph"

